 Save
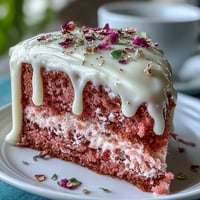
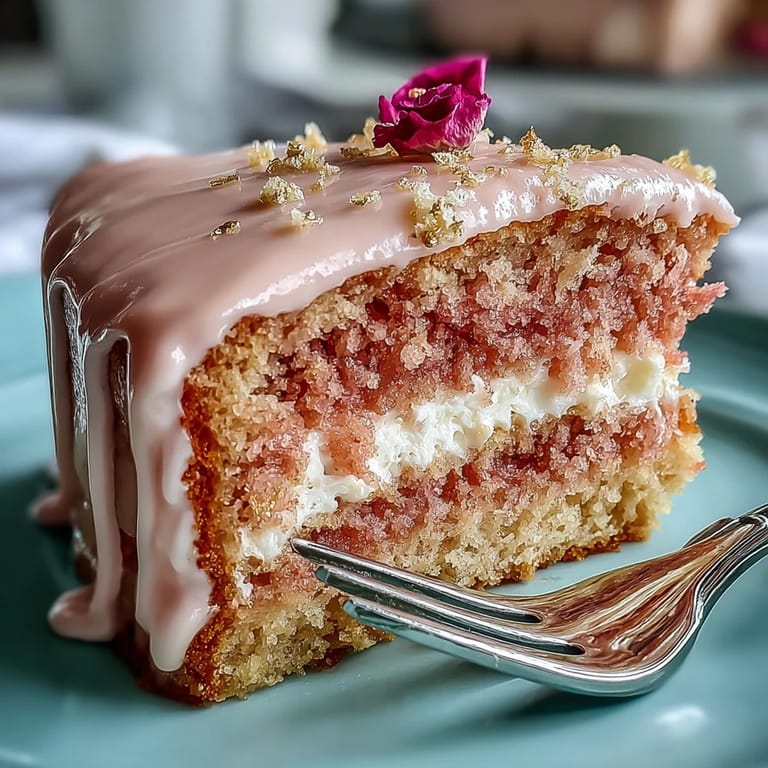
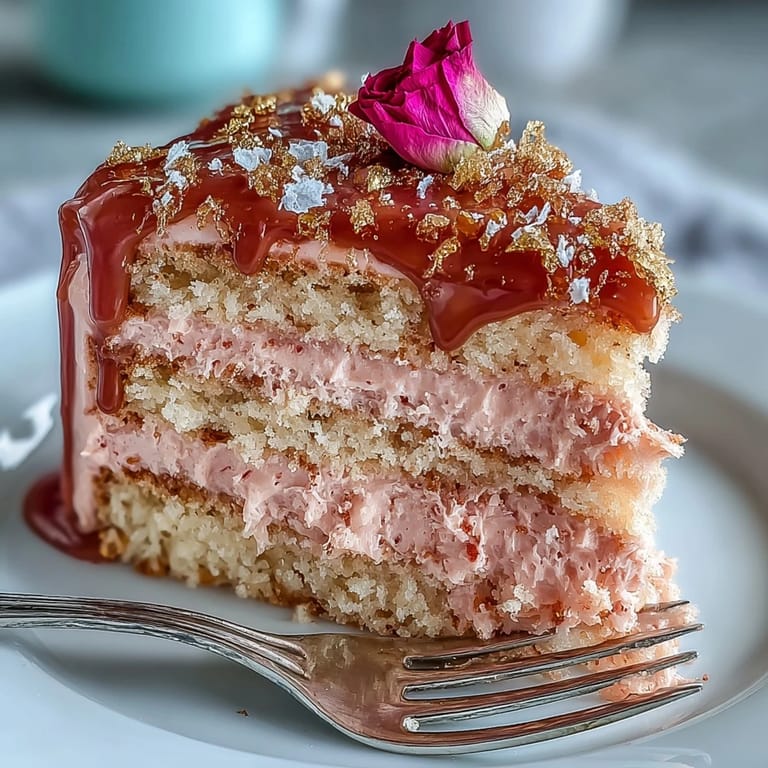
Save The first time I made this Rosé Velvet Cake, sunlight spilled across my kitchen table, catching the shimmer of the gold drip like some sort of accidental celebration. As the scent of butter and rosé mingled in the air, I remember pausing to swipe a bit of batter with my finger—just to check if the color really was as lovely as I hoped. Sometimes baking something this show-stopping feels like you’re getting away with a secret. There’s a thrill in swirling pink into batter and knowing the final cake will be the centerpiece at a celebration. If you’re after a dessert that gets gasps and giddy applause, this is it.
On a rainy Saturday, I assembled this cake for my best friend’s bridal shower, music playing softly in the background and her future sister-in-law sneakily stealing spoonfuls of frosting. There were giggles over who had the steadiest hand for the gold paint, and more than one joke about feeling “fancy” even in our pajama pants. By the time cake slices were passed around, the whole kitchen smelled like vanilla and laughter.
Ingredients
- All-purpose flour: Sifting the flour helps keep the crumb soft and prevents any lumps.
- Granulated sugar: Don’t skimp, as it balances both the rich cocoa and the gentle tang from the rosé.
- Baking soda: This ensures the cake rises with a tender, fluffy crumb.
- Fine salt: A pinch sharpens the overall flavor in every bite.
- Cocoa powder (unsweetened): Just enough for depth; choose natural cocoa for color and mildness.
- Vegetable oil: Keeps the crumb moist and plush even a day after baking.
- Large eggs, room temperature: Mixing eggs at room temperature prevents curdling and makes the batter silky.
- Buttermilk, room temperature: Lends tang and tenderness; let it sit out with the eggs to blend perfectly.
- Rosé wine: Use your favorite fresh, dry rosé for the prettiest, most fragrant cake.
- Vanilla extract: An extra splash makes the flavors feel more bakery-fresh.
- White vinegar: Activates the baking soda for lift and helps set the hue of the cake.
- Pink or rose gel food coloring: Gel coloring gives that true blush tone—start with a little and build to your liking.
- Unsalted butter, room temperature: Essential for a smooth, creamy buttercream base.
- Powdered sugar, sifted: Sifting keeps the frosting from being grainy or dense.
- Rosé wine (for buttercream): Just a splash takes the pink color and aroma over the top.
- Vanilla extract (for buttercream): The finishing fragrant backbone for the frosting.
- Pinch of salt (for buttercream): Balances the sweetness so every spoonful is just right.
- White chocolate chips: Melted for the drip; use quality chips so the gold goes on flawlessly.
- Heavy cream: Gives the drip the right pourable texture—aim for smooth and glossy.
- Edible gold luster dust: Only use edible luster dust, and a little really goes a long way.
- Vodka or clear lemon extract: These help turn the powdery gold into a paint that sets beautifully without streaks.
Tired of Takeout? 🥡
Get 10 meals you can make faster than delivery arrives. Seriously.
One email. No spam. Unsubscribe anytime.
Instructions
- Prep Your Pans:
- Line three 8-inch pans with parchment so the cakes come out with no drama, and don’t forget a thin layer of grease for good measure.
- Mix the Dry:
- Sift together your flour, sugar, baking soda, salt, and cocoa; letting the cocoa dust rise is half the fun (and keeps things light).
- Combine the Wet:
- Whisk oil, eggs, buttermilk, rosé, vanilla, and vinegar briskly until the mixture looks creamy and homogenous.
- Bring It Together:
- Pour the wet into the dry and fold with a spatula; the batter should turn a glossy blush with a swirl of gel color.
- Bake the Layers:
- Divide evenly and slide them into the oven—listen for a gentle hiss as they bake, and test with a toothpick for doneness.
- Cool Completely:
- Let the cakes rest in their pans for about ten minutes before tipping out onto a rack to cool; patience is your friend here.
- Whip the Buttercream:
- Beat the butter until fluffy, then blend in powdered sugar gradually so it clouds up without lumping.
- Frost the Cake:
- Set your first cool layer on a board and swirl on frosting, stacking each layer evenly—smooth sides with an offset spatula, then chill for a neat finish.
- Make the Gold Drip:
- Melt chocolate chips with cream, then let the mixture cool to just-warm before pouring gently around the edge so it trickles down in golden rivulets.
- Paint the Drip:
- Mix luster dust with vodka or extract, then brush carefully over each hardened drip for a molten gold effect.
- Decorate and Serve:
- Add a few edible petals or berries if you feel fancy, and let the cake chill until showtime.
 Save
Save 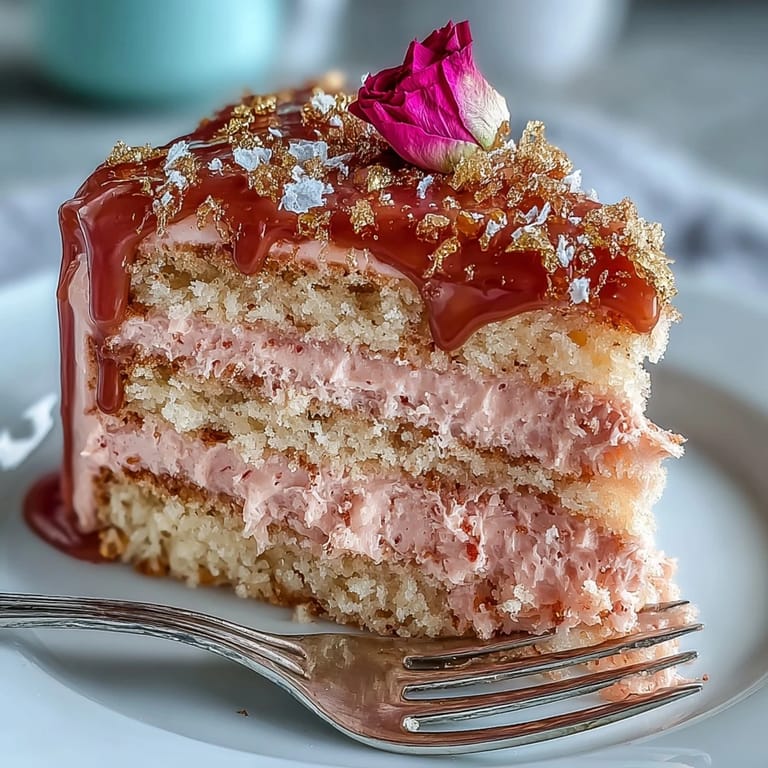 Save
Save Watching the first slice glide out and seeing everyone’s faces light up pink is what convinced me that sometimes food really does set the tone for a whole celebration. It’s hard not to feel like you’re at a party the moment the gold sparkles under the lights.
Rosé Cake Success Stories
A friend told me afterward that she’d never tasted a cake with such a delicate floral finish—turns out, the secret is picking a rosé with a bit of berry on the nose. Even a little goes a long way. If you’re baking for folks who aren’t normally cake lovers, this light, tender crumb might surprise them. The gold drip is forgiving: when I first tried it, my lines were wonky but a second coat smoothed everything out. A little confidence and more gold always saves the day.
Decorating Made Easy
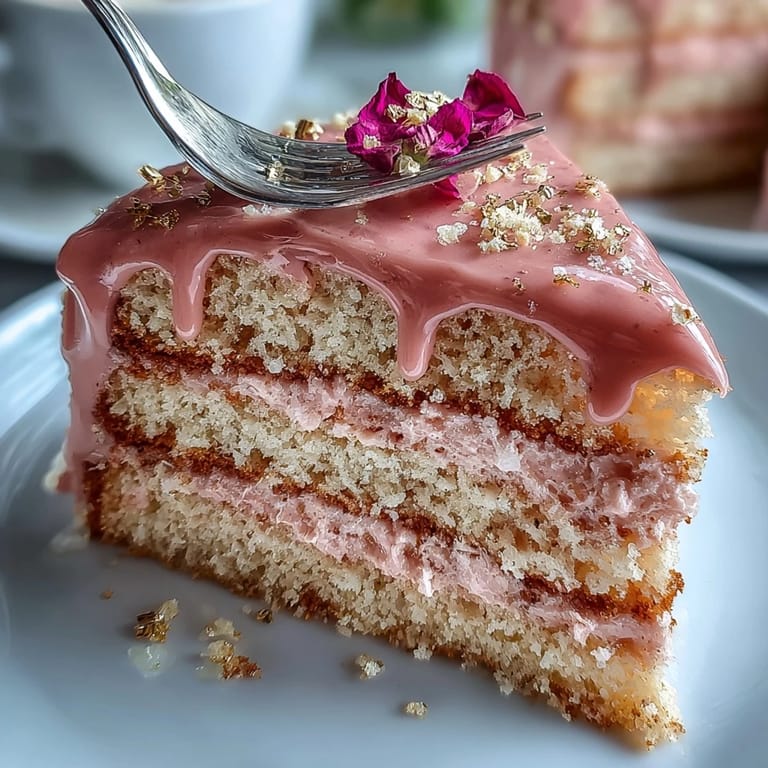
I used to fret about getting the gold drips exactly perfect, but now I let them fall naturally and fill in any gaps with a second brushstroke. If the chocolate is too warm, it runs right off the cake, so be patient and let it cool a few minutes. Stacking with plenty of parchment between layers makes moving them around so much easier. Once you see how the shimmer comes together, you’ll want to try this finish on other cakes too. Just remember, edible gold is the only way—save the craft glitter for cards.
Little Tricks That Make a Big Impact
Every time I bake this cake, there’s a moment of panic that the colors won’t be right or the crumb won’t hold—but a gentle hand and careful mixing always work wonders. Even if you hit a snag, the cake is forgiving under a generous swipe of buttercream. A cool kitchen makes decorating easier, so open a window or pop the cake in the fridge if things get sticky. Keep your offset spatula warm by running it under hot water between uses for extra smooth frosting.
- If you can, bake the cake layers a day ahead for easier assembly.
- Use a spinning cake stand for super smooth frosting sides.
- Make sure every ingredient is at room temperature for best texture.
 Save
Save 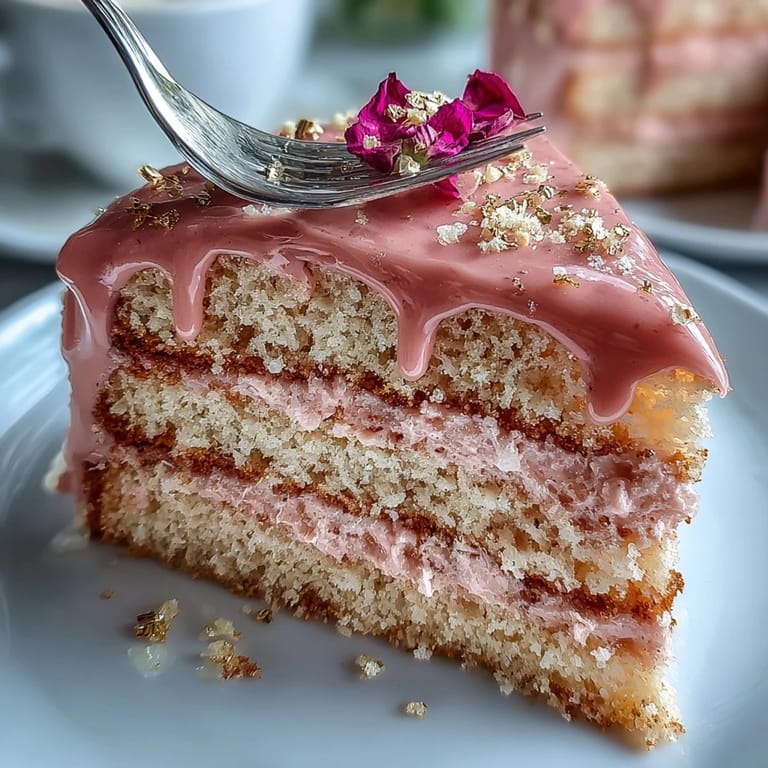 Save
Save Pour a glass of leftover rosé as you admire your masterpiece—you’ve absolutely earned it. Here’s to celebrations both big and small, made brighter by cake and a little edible gold.
Recipe FAQs
- → Can I omit the alcohol?
Yes. Replace rosé with an equal amount of grape juice, diluted white grape juice, or a mix of juice and a splash of lemon extract to retain acidity and flavor without alcohol.
- → How do I keep the layers from sinking?
Measure leaveners carefully, avoid overmixing once wet and dry ingredients are combined, and bake at the correct temperature. Let cakes cool in the pans for 10 minutes before transferring to a rack to set their crumb.
- → How do I get a smooth, stable gold drip?
Heat white chocolate and cream until just combined, then cool slightly so the drip holds shape. Apply to a chilled cake and work in small batches. Mix edible gold luster dust with vodka or clear extract for a brushable paint once the drip is set.
- → Can I make this ahead of time?
Yes. You can bake layers a day ahead and refrigerate wrapped. Assemble and chill the frosted cake overnight. Bring to room temperature for 30–60 minutes before serving for best texture and flavor.
- → How do I control the pink shade?
Use gel or paste food coloring for strong, consistent color. Add a small amount at a time to reach the desired rosy-pink without thinning the batter.
- → Is edible luster dust safe to use?
Only use luster dust labeled as edible. Non-edible metallics are not safe. Mix edible luster dust with a food-safe solvent like vodka or clear lemon extract for painting.