Save
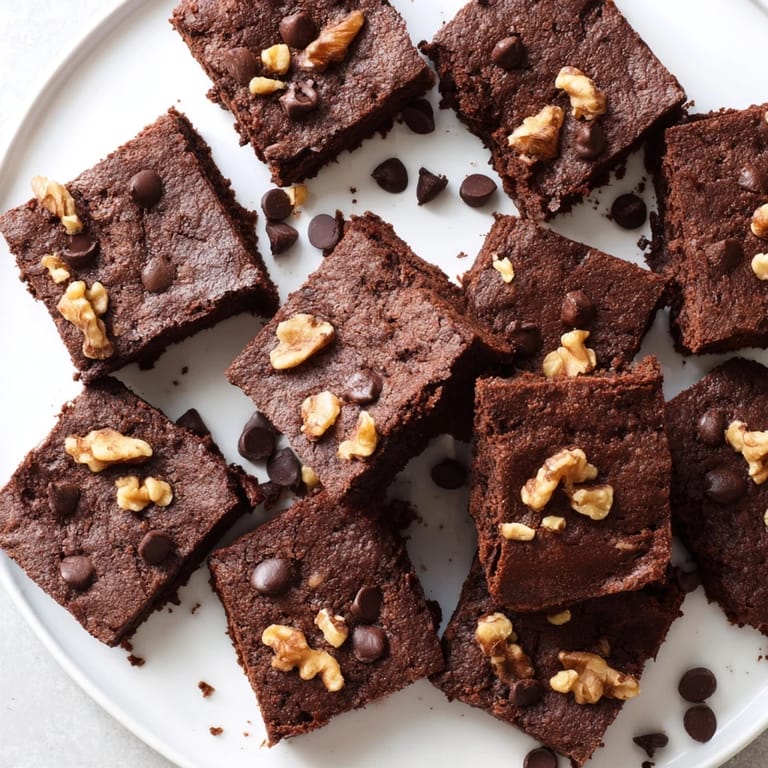
Save My college roommate and I had this tiny apartment kitchen where the oven temperature was always guesswork. We started making brownies every Friday night as our own little celebration, and somehow these chocolate squares became the thing that brought everyone over. The crackly top would form while we debated whether to add walnuts or not, and the smell would drift down the hallway like an invitation. I have not found a better way to end a long week since.
Last winter my neighbor texted me at 9 PM saying she needed something chocolate for her daughters birthday the next morning. I threw these together half asleep and she told me later they were gone before breakfast even started. Sometimes the simplest recipes are the ones that save the day.
Ingredients
- 170 g semi-sweet chocolate: I have learned that chopping bars yourself melts more evenly than chips
- 115 g unsalted butter: Room temperature butter helps prevent the chocolate from seizing when you melt them together
- 200 g granulated sugar: This creates that beautiful crackly top we all love
- 50 g light brown sugar: Adds just enough moisture to keep the center fudgy
- 2 large eggs: Room temperature eggs incorporate better and prevent graininess
- 1 tsp vanilla extract: Do not skip this, it makes the chocolate taste more intense
- 80 g all-purpose flour: Measuring by weight is the secret to consistent texture every time
- 30 g unsweetened cocoa powder: Dutch process gives a deeper flavor but regular works fine too
- 1/4 tsp salt: Balances the sweetness and makes chocolate taste more chocolatey
- 100 g chopped walnuts or pecans: Toast them first for extra crunch if you have time
- 100 g chocolate chips: These create pockets of melted chocolate throughout
Tired of Takeout? 🥡
Get 10 meals you can make faster than delivery arrives. Seriously.
One email. No spam. Unsubscribe anytime.
Instructions
- Preheat your oven to 175°C and line your pan:
- That parchment overhang is going to be your best friend later when you lift the whole batch out at once.
- Melt the butter and chocolate together slowly:
- Keep the heat low and stir constantly until glossy and smooth, then walk away for ten minutes to cool slightly.
- Whisk in both sugars until no grit remains:
- The mixture should look thick and glossy, which is how you know the sugars have started to dissolve properly.
- Add eggs one at a time:
- Beat well after each addition until the batter looks smooth and satiny, then stir in the vanilla.
- Fold in the dry ingredients gently:
- Sift everything in first to avoid lumps, then fold until you no longer see dry flour streaks.
- Add your mix-ins if using:
- Gently fold in nuts or chocolate chips until just distributed through the batter.
- Spread batter and bake:
- Pour into your prepared pan, smooth the top with an offset spatula, and bake for 22 to 28 minutes.
- Cool completely before cutting:
- This is the hardest part but the cleanest cuts come from brownies that have fully set at room temperature.
 Save
Save My dad swears he can taste the difference between brownies made with love and ones from a box. I am not sure about that but I know the way the kitchen falls silent when these come out of the oven says everything that matters.
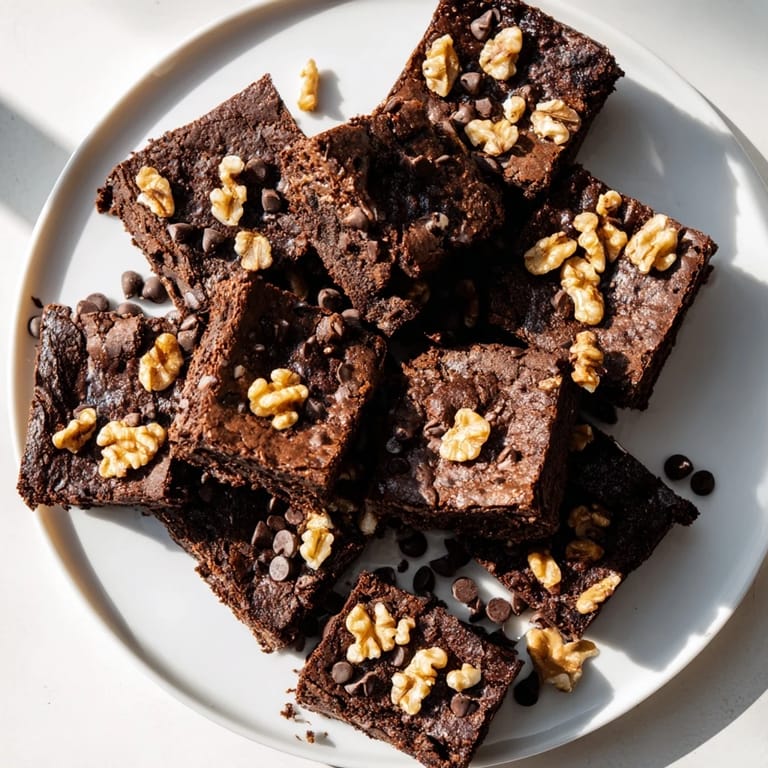
Getting That Crackly Top
The sugar and eggs create a meringue-like layer on top that bakes into those signature crackles. Make sure your eggs are at room temperature and whip them enough after adding to the chocolate mixture. I have found that granulated sugar works better than brown sugar for this effect, which is why this recipe uses both types.
Making Them Your Own
These brownies are incredibly forgiving and adapt well to whatever you have in the pantry. I have swapped in different nuts, added dried cherries, and even stirred in peanut butter. The base recipe never fails me, which is probably why I keep coming back to it year after year.
Storage and Serving Ideas
These actually taste better on day two when the flavors have had time to meld together. Store them in an airtight container at room temperature for up to four days. They freeze beautifully too, wrapped individually in parchment then placed in a freezer bag for up to three months.
- Warm a square for 15 seconds in the microwave before serving
- A scoop of vanilla ice cream turns them into dessert
- They keep well in the freezer for late night chocolate emergencies
 Save
Save There is something timeless about a batch of brownies fresh from the oven, and I hope these become part of your own kitchen traditions. Happy baking.
Recipe FAQs
- → How do I know when brownies are done?
Insert a toothpick into the center. It should come out with a few moist crumbs, not completely clean. This ensures fudgy texture rather than cakey results.
- → Can I make these more fudgy?
Underbake by 2-3 minutes and chill thoroughly before cutting. The cooling process sets the texture while preserving the gooey center.
- → What chocolate works best?
Semi-sweet baking chocolate with 60% cocoa content provides ideal balance. Higher percentage makes them less sweet, while milk chocolate creates softer texture.
- → Why did my brownies turn cakey?
Overmixing the batter or overbaking causes cakey texture. Fold dry ingredients just until combined and check for doneness a few minutes early.
- → How should I store these?
Keep in an airtight container at room temperature for 3-4 days. For longer storage, refrigerate up to a week or freeze individually wrapped for 3 months.
- → Can I add mix-ins?
Chopped walnuts, pecans, or chocolate chips fold in easily. Add 100g of your choice after combining the batter for extra texture and flavor.