 Save
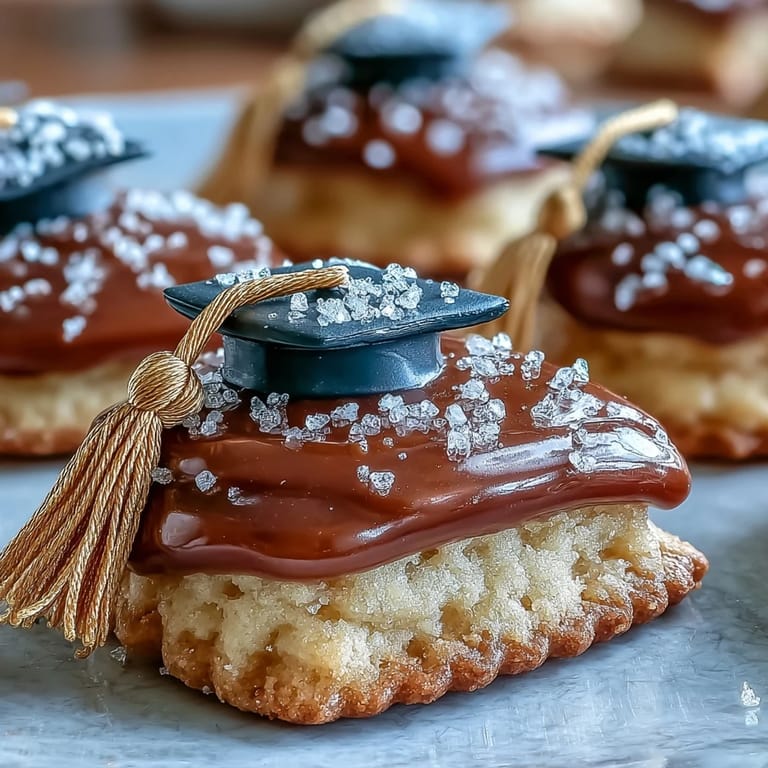
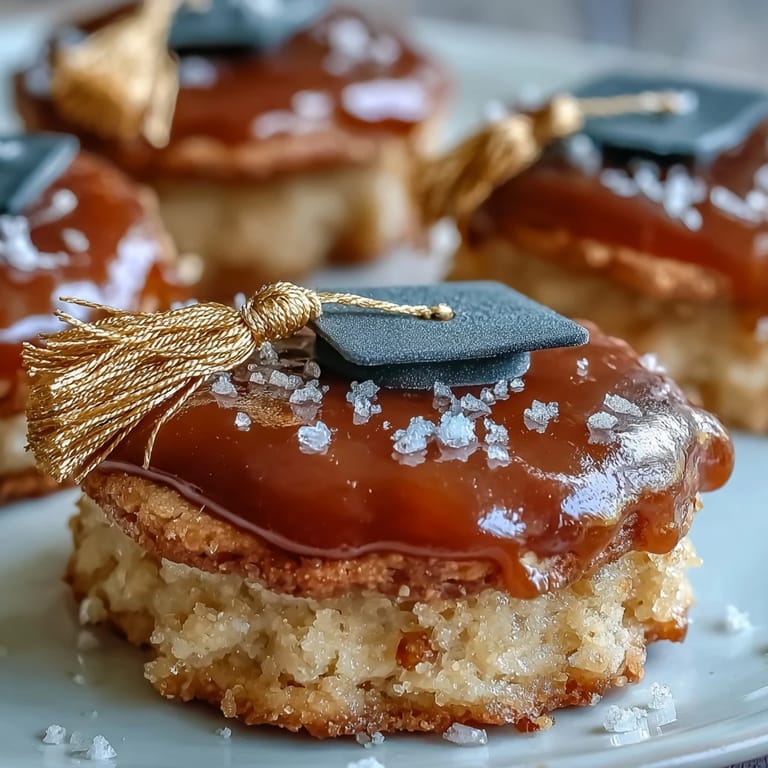
Save The sound of graduation caps bouncing on a table and friends laughing in the kitchen filled the air as I first made these cookies. Not every day calls for cookies shaped like little diplomas and caps, but there is just something triumphant about gold-tipped treats marking a milestone. The scent of buttery dough mingling with vanilla made the whole process feel like a celebration in itself. I had my apron dusted with flour and a playlist going loud enough that I almost forgot to check the oven timer. Let’s just say more than achievement can be sweetly golden with these cookies.
I still remember the year my little cousin graduated—they handed out these cookies alongside diplomas, and the gold luster shimmered in the afternoon sun. Kids peered over the table, trying to pick the biggest cookie, while adults hovered nearby pretending it was all for the kids. I was asked more than once how I got those tassels so bright, and the secret was a good flick of the wrist with that fine paintbrush. Nothing breaks the ice at a party like sharing how your first diploma cookie resembled a scroll from outer space. That year, even the teachers asked for the recipe cards.
Ingredients
- All-purpose flour: Go for a spoon-and-level method to avoid heavy cookies; it’s the base for buttery goodness.
- Unsalted butter, room temperature: Soft butter creams best, creating that airy, crumbly texture every celebratory cookie needs.
- Granulated sugar: Creaming it with butter is where I first noticed the kitchen starting to smell like a bakery.
- Large egg: Adds richness and helps the cookies hold their festive shapes—no slumping caps here.
- Pure vanilla extract: A splash here flavors both dough and icing, giving layers of vanilla in every bite.
- Almond extract (optional): A drop or two brings a gentle nuttiness; for guests with allergies, I’ve swapped lemon and loved it.
- Salt: Just enough to balance the sweetness—you really taste it when a cookie is this simple.
- Powdered sugar, sifted: No lumps allowed, especially in royal icing; I learned this after my first clumpy batch.
- Egg whites (or meringue powder & water): These build that stiff, glossy royal icing—it holds details better than you think.
- Cream of tartar: Don’t skip it or your icing might never set up enough for intricate scrollwork.
- Black gel food coloring: Just a drop—too much and the icing can turn bitter, so I always start small.
- Gold edible luster dust + clear alcohol or lemon extract: Painting on gold is the magic trick; the shimmer never fails to wow the crowd.
Tired of Takeout? 🥡
Get 10 meals you can make faster than delivery arrives. Seriously.
One email. No spam. Unsubscribe anytime.
Instructions
- Cream the Butter and Sugar:
- Mix butter and sugar with an electric mixer until everything looks pale and cloudlike, pausing to scrape the bowl.
- Add Wet Ingredients:
- Drop in the egg, vanilla, and almond extract if using—let them blend in until your mixture smells sweet and inviting.
- Mix in Dry Ingredients:
- Slowly add flour and salt, beating just until a dough forms and no streaks of dry flour remain.
- Chill the Dough:
- Split dough in two, shape into discs, and wrap in plastic before chilling—they’ll roll out smoother after a good rest.
- Roll and Cut:
- On a flour-dusted surface, roll dough to a quarter inch thick and cut out caps and diplomas, rerolling scraps gently.
- Bake:
- Lay cookies on lined trays and bake at 350°F until just golden at the edges, about 8 to 10 minutes—don’t overdo it.
- Cool Completely:
- Let cookies cool on racks to avoid soggy bottoms and to prep for those crisp icing lines.
- Make Royal Icing:
- Beat egg whites until frothy, then sift in powdered sugar and cream of tartar, mixing till thick and glossy, then stir in vanilla.
- Divide and Color Icing:
- Scoop some into bowls—color one black, leave some white, and save some for gold—cover with plastic so it won’t dry.
- Decorate:
- Pipe outlines, flood gently, and add details—if an edge wobbles, use a toothpick before the icing sets; let air dry for an hour.
- Paint with Gold:
- Mix gold luster and a little alcohol; with a fine brush, highlight tassels and ribbons, then let the paint dry before sharing.
 Save
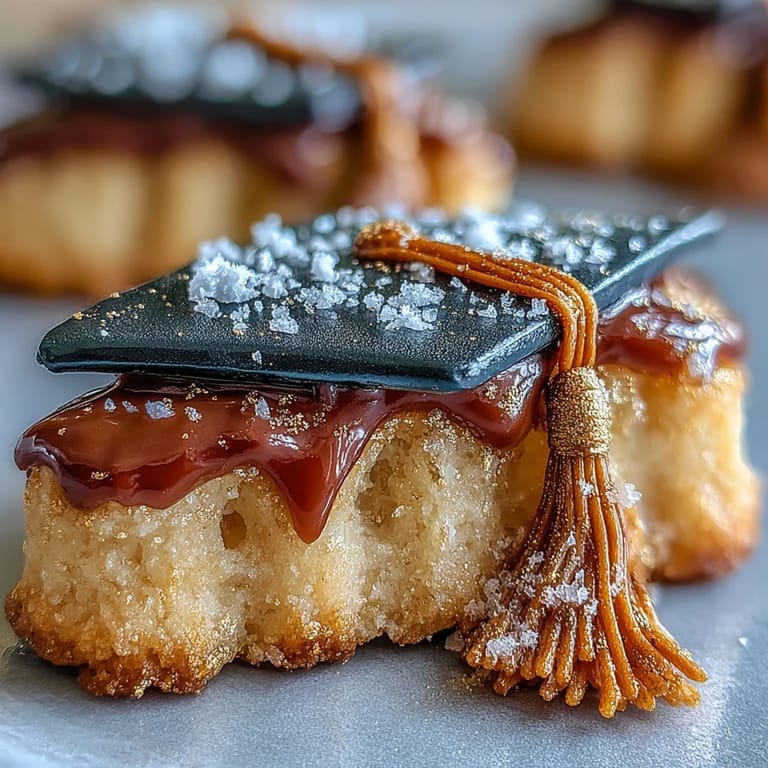
Save Sometime after midnight, I found myself admiring a tray of completed cookies. The gold shimmered under the kitchen lights, and my sister popped in for a ‘quality check’—the next morning, only half had survived. Those cookies were talked about long after the ceremony was over.
Decorating Tricks for Cookie Graduation Success
Switching to small piping bags made my lines and tassels so much neater—less hand fatigue, too. Using a toothpick to guide flooded royal icing into stubborn corners helps the shapes stay crisp and distinct. Every diploma and cap looked professional once I started doing this, and even my cousin joined in for some teamwork. A good fine paintbrush dedicated just for edible gold is a must. It’s honestly the best part—watching friends light up at that shimmer.
How to Store and Gift Your Graduation Cookies
The first time I packed these for gifting, I layered them between sheets of parchment in a sturdy tin—they traveled across town without losing a single tassel. If making ahead, keep cookies and icing decorations dry and separated until just before serving, especially on humid days. Individually wrapping each cookie in cellophane also helps keep them fresh and photo-ready. I once turned a batch into party favors by tying them with ribbon and a handwritten tag. The look on everyone’s faces was worth the extra step.
Essentials for the Perfect Cookie Shape and Finish
A sharp-edged cookie cutter makes a world of difference for those celebratory shapes; dull ones give you floppy scrolls, which still taste good but lose their effect. Lining baking trays with parchment means no sticking, and cleanup is a breeze. Always sift your powdered sugar before making icing for the smoothest finish—trust me, I learned after my first lumpy royals.
- Set baked cookies aside for twenty minutes before icing to prevent melting and blurring.
- Store your gold luster dust away from humidity to keep it sparkling between batches.
- Resist the urge to rush; the slower you decorate, the more memorable the cookies will look and taste.
 Save
Save Here’s to golden moments, edible diplomas, and the smiles they spark—because every accomplishment deserves something sweet and a little extra shiny.
Recipe FAQs
- → How do I stop sugar cookies from spreading?
Chill the dough for at least 45 minutes before rolling; work quickly when cutting shapes and chill the cut cookies briefly on the baking sheet. Use cold baking sheets and avoid over-creaming the butter and sugar to reduce spread.
- → Can I substitute meringue powder for egg whites in royal icing?
Yes. Use the recommended meringue powder and water ratio (e.g., 4 tbsp powder + 6 tbsp water) to achieve stable, glossy peaks while avoiding raw egg concerns. Adjust water to reach piping or flooding consistency.
- → What is the best consistency for flooding vs. piping?
Piping consistency holds its shape for outlines and details; it should be thicker and form peaks. Flooding consistency should flow slowly to fill areas—thin the piping icing with drops of water until it levels smoothly within outlines.
- → How do I apply edible gold for fine details?
Mix gold luster dust with a few drops of clear food-grade alcohol or lemon extract to form a paint. Use a fine, food-safe brush to apply the gold to tassels and ribbons once the icing is fully set to avoid smudging.
- → How should I store decorated cookies?
Store fully dry cookies in an airtight container at room temperature for up to one week. Separate layers with parchment to protect delicate icing details and keep away from humid areas to prevent softening.
- → Any tips for achieving smooth, even icing layers?
Pipe an outline first and let it crust slightly, then flood with thinner icing. Use a toothpick to pop air bubbles and gently nudge icing to the edges. Work on a flat surface and allow ample drying time between layers for crisp details.